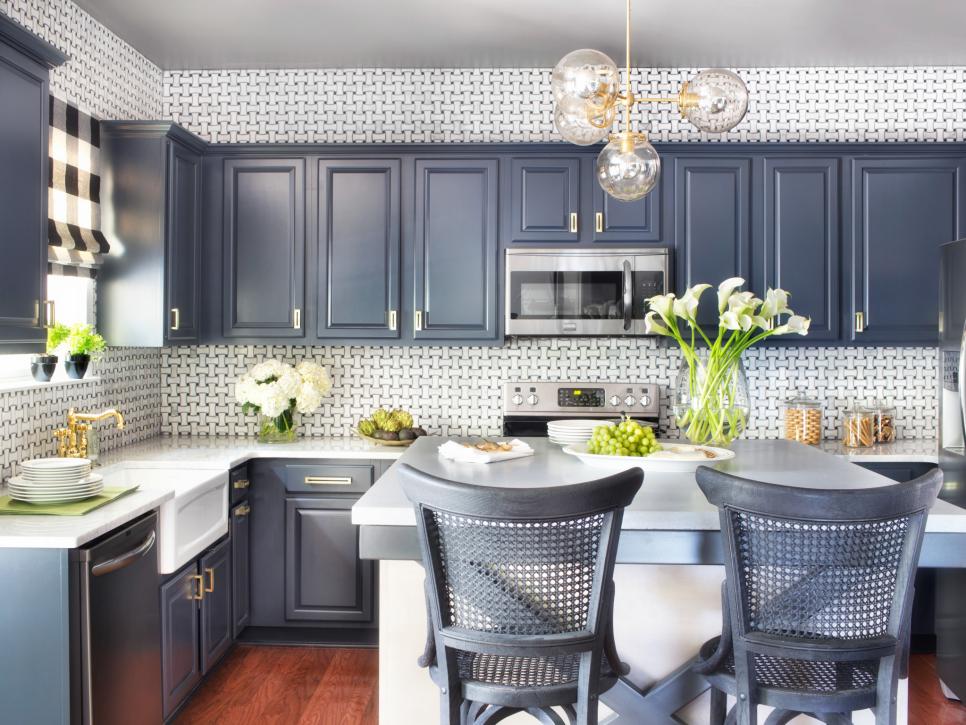
You might keep in mind that I had actually already repainted and tiled the backsplash, so this was the last step in the change! Here's what you'll require: Paint and primer (more on this to come) Good brushes Sandpaper (both fine and medium grit) Degreaser or TSP Painter's Tape Like any excellent home improvement project, it starts with painful over choices - how durable is chalk paint for kitchen cabinets.
Now normally I 'd take my example to Home Depot or Lowes and get a color match, however this is not a job for common paint. Think of the banging, food slinging, wetness, and heat that your cabinets are subjected to. As an extremely noticeable and regularly abused kitchen component, you absolutely want these babies to come out smooth and durable.
I did discover stories of great results with BM's Satin Impervo (both oil and waterborne) along with Aura. There are also several specialized paints made for cabinets, however they are not constantly easy to discover. After a recommendation from their personnel, I chose to give this oil/water hybrid product from BM a shot. fusion mineral paint kitchen cabinets before and after.
When you collect all your supplies, the next step is to take down all your cabinet doors and drawer fronts and eliminate all hardware/hinges. If your kitchen has a complex design, you might wish to identify what originated from where to make the re-install less of a headache. Otherwise, get out your cleaning and sanding products. how to clean painted kitchen cabinet doors.
The Main Principles Of Best Paint For Your Next Cabinet Project - The Home Depot
/cdn.vox-cdn.com/uploads/chorus_asset/file/19896346/RTB_0159006.jpg)
Tidy your cabinet boxes and doors thoroughly and give them a good roughing up with some medium grit sandpaper/block. My cabinets had a shiny veneer which I didn't sand totally through-I just sanded enough to take the sheen off and offer the surface some grip. Make certain to clean away the dust with a tack cloth or damp lint totally free cloth.
For the very best adhesion, let the guide remedy for a full 24 hr. Perseverance is a virtue, my buddies (how much to paint kitchen cabinet doors). The following day prime the back side of the cabinets. To save some time, I in fact painted a very first surface coat on my boxes the very same day. Are you beginning to see the pattern here? It's a great deal of painting and a lot of waiting.
If this is all getting a bit complicated, let me set out the order like this. Day 1- Clean, sand, prime boxes and front of doors Day 2- Lightly sand boxes and place on a very first surface coat, prime back of doors Day 3- Gently sand front of doors and put on a first surface coat (espresso brown paint for cabinets).
Day 4- Lightly sand back of doors and place on a very first finish coat. Day 5- Lightly sand first coat on front of doors and put on a second coat. Day 8 or 9 or if you have a lots of time Day 10- Reattach hardware and re-hang doors! Prior to you get going, let me detail the painting technique I was shown at Benjamin Moore particularly for the Advance paint - how to paint lacquered cabinets.
7 Easy Facts About Everything You Need To Paint Your Kitchen Cabinets - My ... Described
Put an excellent amount on your brush and utilize long strokes to spread it as uniformly as possible. Let it settle itself, try not to return and brush it too much due to the fact that it will start to establish in a couple of minutes. The bright side is that you successfully have one practice coat to see how the paint feels and flows.
Cabinet Painters 28208 Cabinet Painters Near Me